You can import your existing invoice template or you can start with one of our examples.
1. Create Draft Invoice
There are a few ways you can create a draft invoice:
From the invoice page
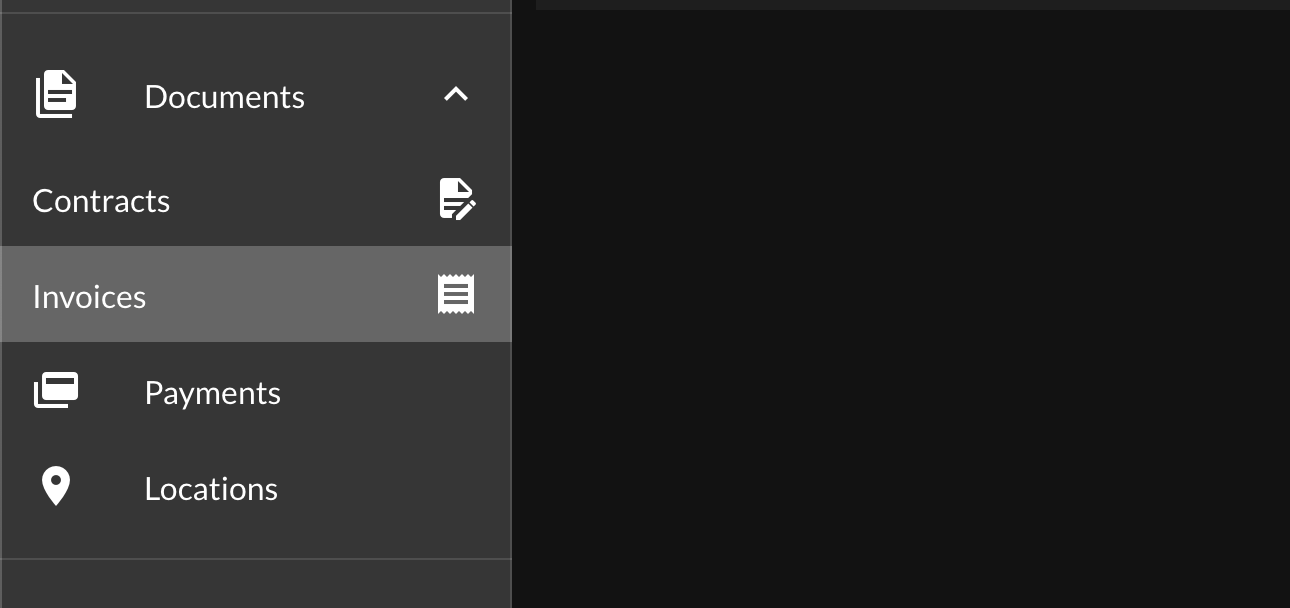
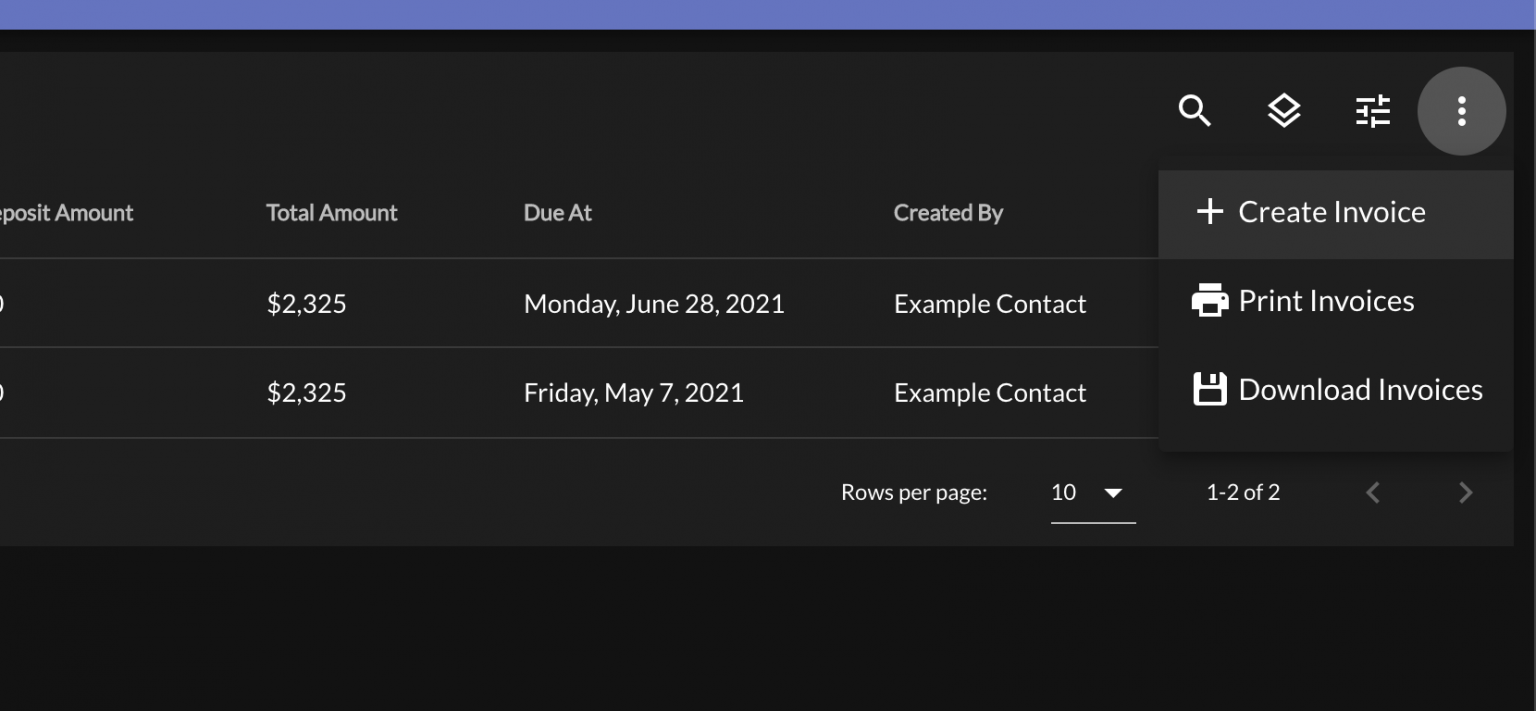
First, you can create an invoice by navigating to Documents > Invoices > Context Menu (top right) > Create Invoice.
Event details page
You can also create an invoice from an event by clicking on the New Invoice button on the event details page.

Contract details page
Finally, you can create an invoice from the Contract details page. Once your client has signed a contract, the call to action on the contract page switches to Create Invoice. If you create your invoice from here, the first signer will be populated as the "Invoice To" name.

2. Invoice Details
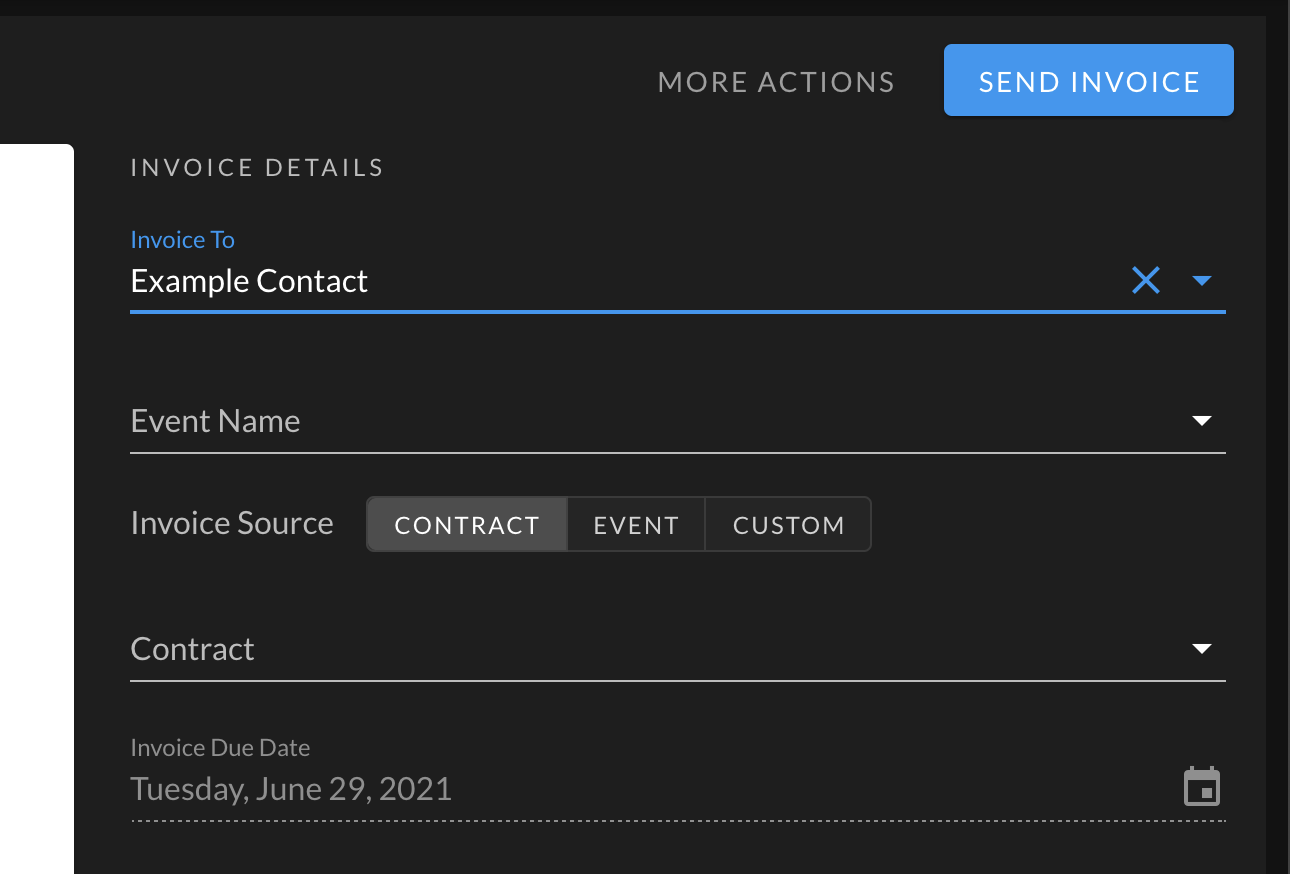
Next, you should choose who you will send the invoice to. You can change the “invoice to” field any time before the invoice has been paid.
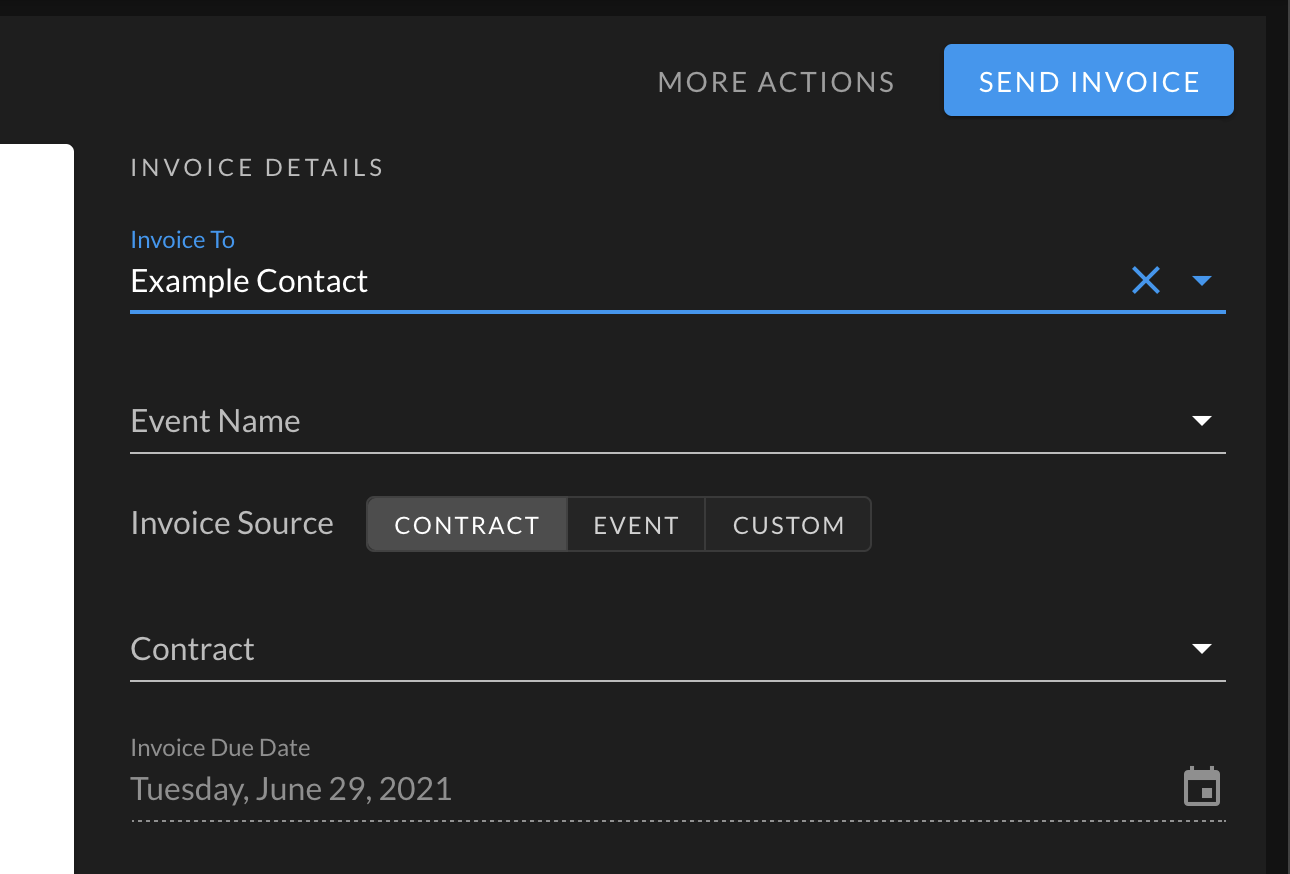
You can also select an associated event. This is best practice because it allows you to do a few things: First, your invoice will appear on the event details page (linked record). Second, the invoice will appear on the client portal (once the invoice has been “sent”). And finally, you can automatically load the billable items into the invoice from the event details page.
Finally, you can choose the invoice source. The “invoice source” selector is a quick way for you to automatically load billable items from various sources:
- Contract: If your “invoice source” is set to “contract,” you should choose the appropriate contract in the dropdown menu. Once you confirm the invoice looks right, you can send the contract to the client. There are no other options to modify the invoice when using a contract as the source (all terms are pulled from the contract).
- Event Details: You can also pull package and add-ons from the event. This allows you the flexibility to control deposit amount, due date, and other terms.
- Custom Billable Items: If you need full flexibility, you can choose the “custom” source and define your own billable items.
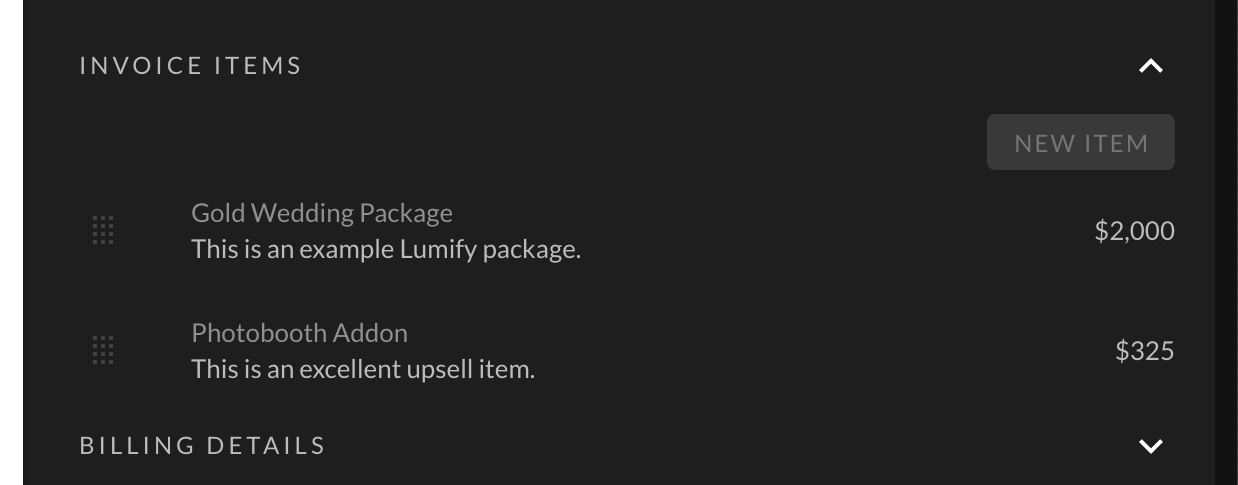
3. Invoice Items
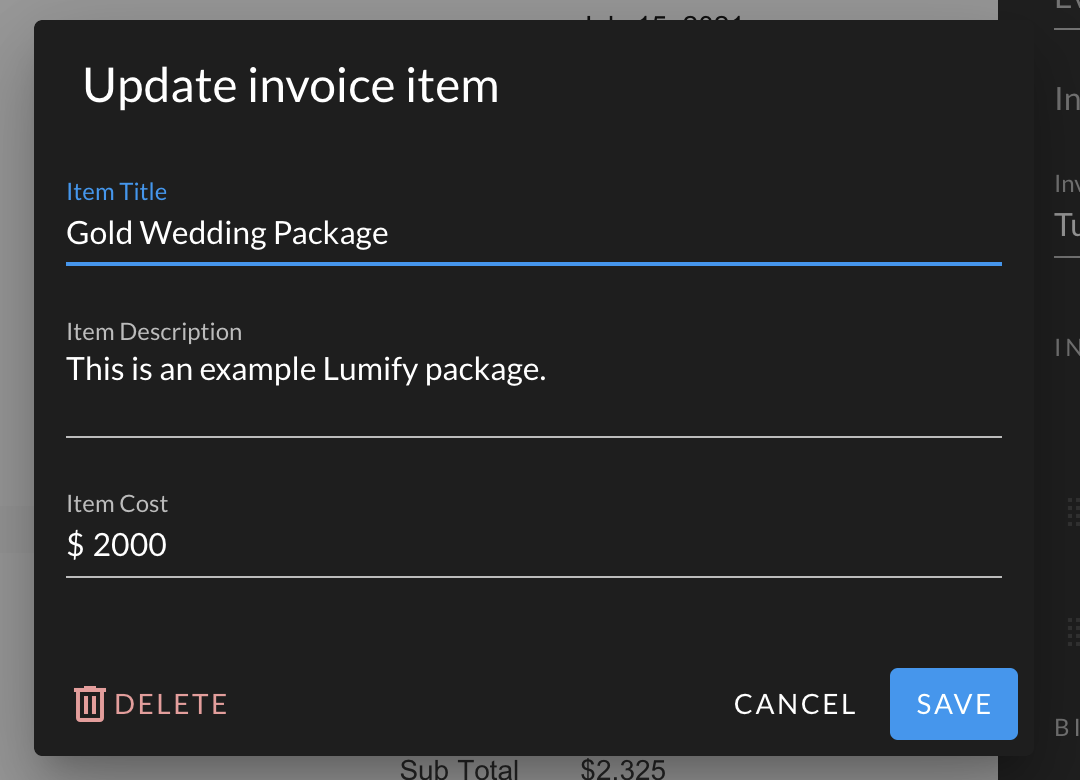
If you are using the “custom” option for “invoice source,” you can define your own invoice items. If you're using the "event" or "contract" invoice source, then the invoice items will pre-populate based on your choice.
4. Billing Details
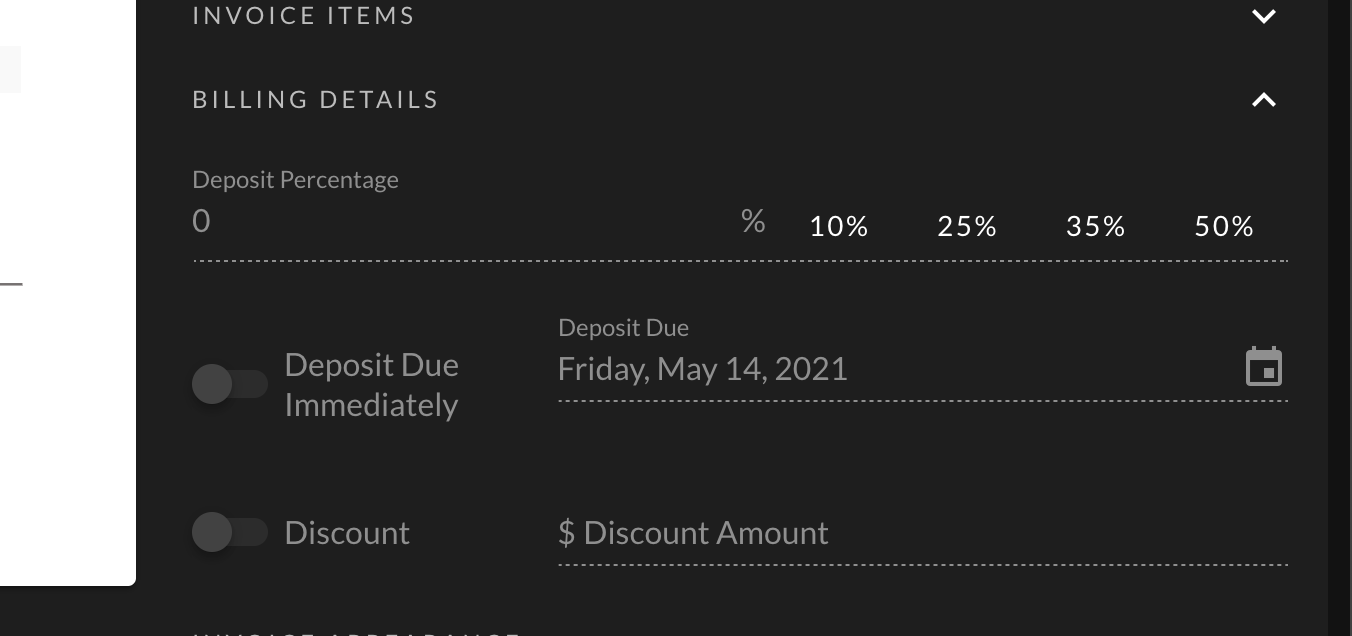
If you are using the “custom” or “event” options for “invoice source,” you can define the deposit percentage, when the deposit is due, and whether you are giving any discounts.
5. Appearance
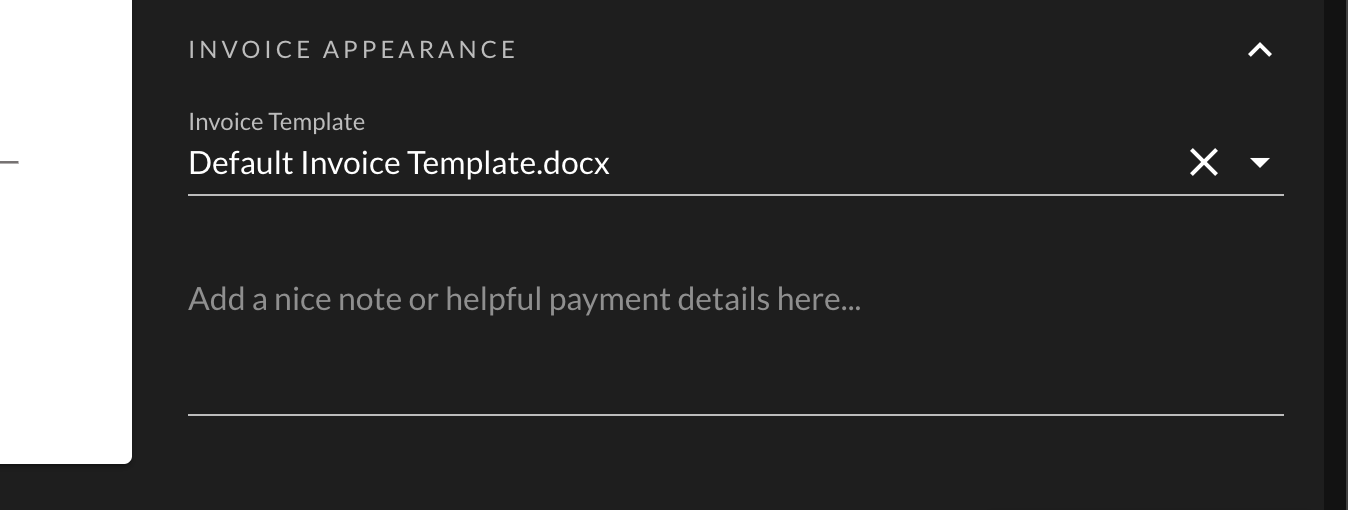
Finally, you can adjust the appearance of the invoice with document templates. You can also add a billing note, which is available on the invoice template as the [notes] merge field.
6. Send Invoice
Once you’ve finished customizing your invoice, you can send the invoice to the selected contact by clicking Send Invoice. This will email a copy of the invoice to the contact in the “invoice to” field. It also publishes the invoice to the client portal. If you're not quite ready to send an email to the client, but want to see what the contract will look like in the client portal, you can click More Actions and choose Mark invoice as sent.
