Note: Beginning in July 2024, users will no longer be able to upload new Word document templates. Existing users with Word templates will be "grandfathered in" and will retain the ability to continue using Word documents, but are strongly encouraged to migrate to the new HTML templates (the new templates load 175% faster than the legacy Word templates). With this change, the backend for merge tags has been upgraded and uses double curly braces "{{}}" instead of single square brackets "[]". This article is preserved for legacy purposes.
Document templates allow you to easily automate the generation of documents across Lumify. By defining custom document templates, your contracts and invoices can be designed to match your branding and company style. We also have a YouTube video introducing document templates.
Document Templates
All document templates must be Microsoft Word documents with a .docx extension (i.e. all Word documents generated with Microsoft Office 2007 or later). Older Word documents are not compatible with Lumify, however these older documents can be converted to the newer format within Word. For more information about converting older documents, click here.
Sample Templates
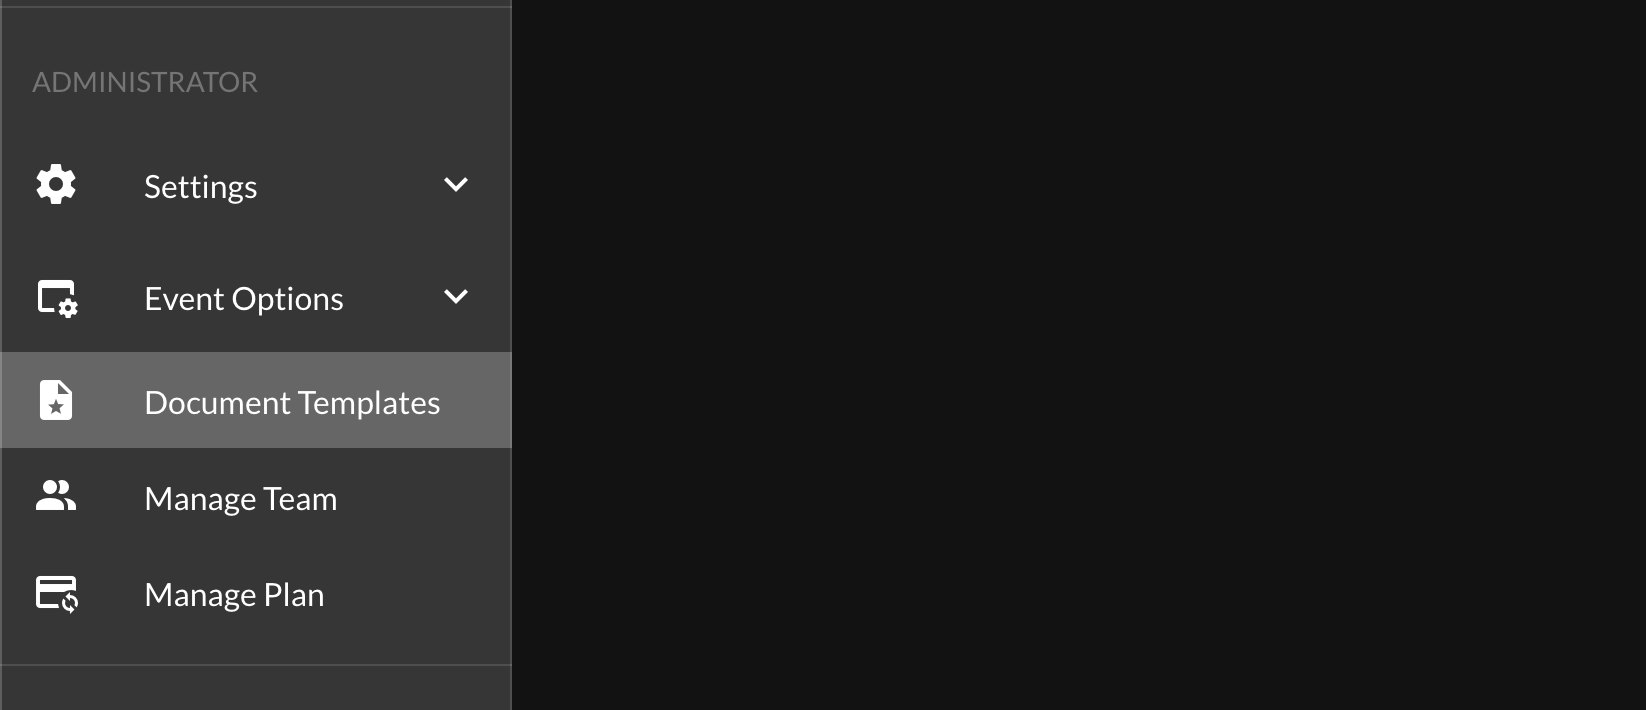
To get started with creating your own custom document templates, you may want to review the sample templates that come out-of-the-box with Lumify. You can review those templates by navigating to Document Templates:

Choose which type of template you'd like to review by clicking either the Invoices or Contracts tab, then click on the Default Invoice Template.docx to download the sample file:

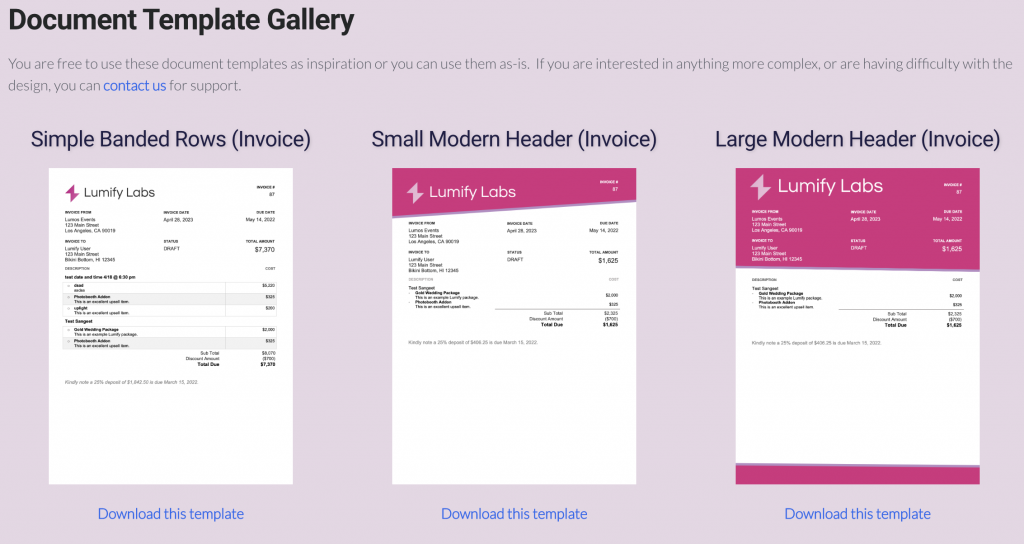
You can also take a look at our Document Template Gallery if you need some more inspiration.

Default Template
The star icon indicates that is the default template. Only one template can be a default per template type. You can make any template a default template by clicking on the context menu (...) next to the template. When a template is set to default, it will be the template used when new documents are created. You can always change the template used per document.
Merge Fields
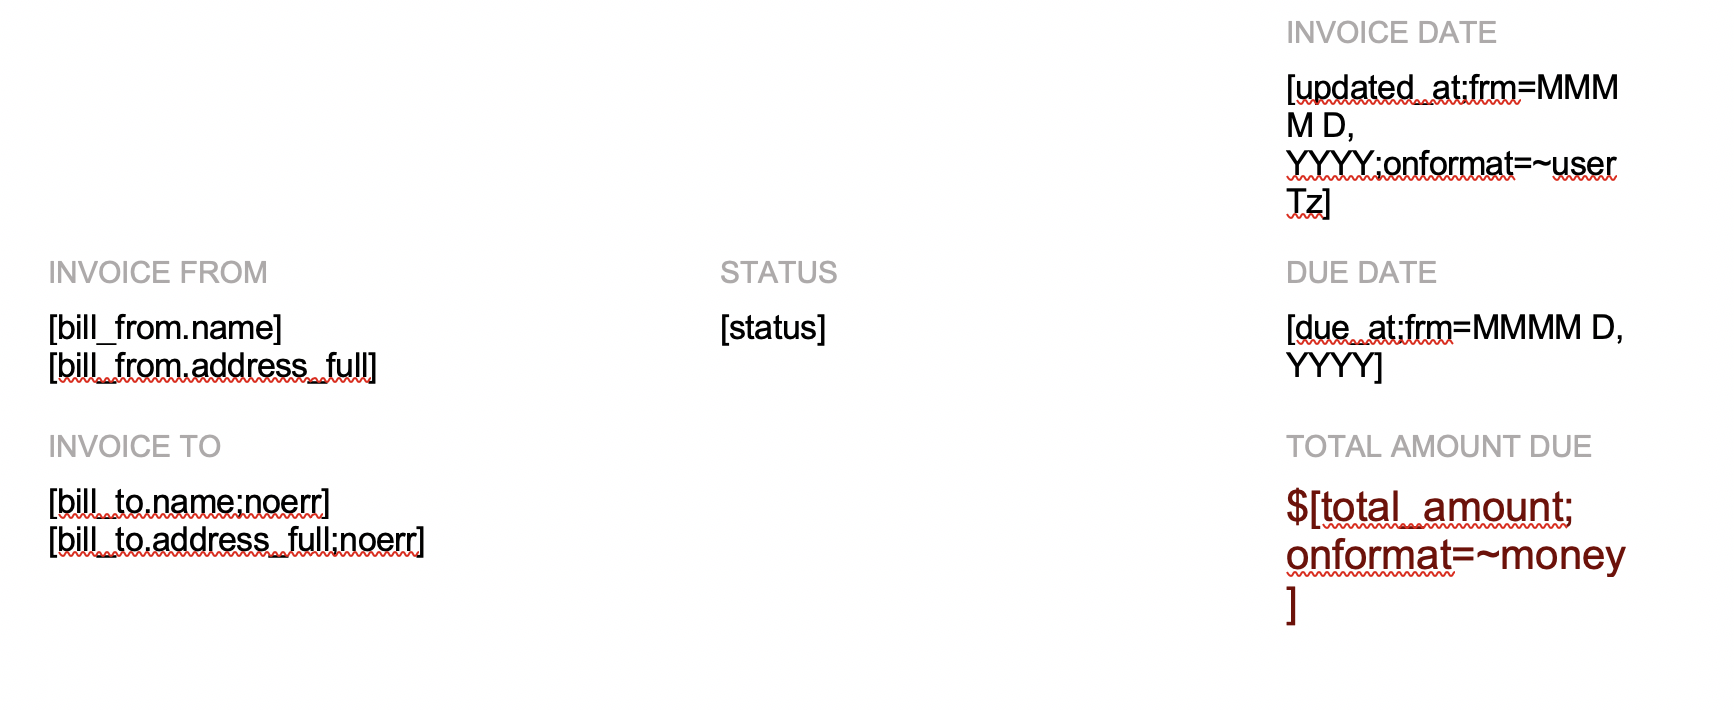
You can include simple merge fields in your document template by enclosing the field name within square brackets (e.g. [event.title]).
There are a number of different ways that merge fields can be used to insert dynamic content into your templates, including formatting dates, times, money, and more. You can also adjust the color and font of each merge field natively within Word. The default templates included with Lumify have comments with additional details.

If you're having difficulty with a field not rendering, try typing out the merge field manually or copy and "paste without formatting". The Word format is known to insert hidden characters or tags when pasting formatted text.
Available Merge Fields
Each type of document template has different merge fields available. For a list of available merge fields, review the documentation for each type of document:
Block fields (arrays)
Note: this section relates to Word documents only. For details on formatting merge fields in email or other templates, click here.
Some fields contain multiple entries (i.e. an 'array' of items) and are only accessible in documents using 'blocks.' Blocks are very robust and can be very powerful in displaying arrays of information in your documents.
With blocks, you can iterate through an array of multiple items automatically. For example, you want to display a list of events and their corresponding dates in a table. If each event represents its own row, this is how you'd display that:
| Event Title | Date |
[events.title;block=tbs:row;] | [events.date] |
This will be automatically transformed into:
| Event Title | Date |
| Smith Wedding | 2025-12-31 |
| My super sweet 16 | 2024-03-09 |
| Club party | 2023-06-20 |
There are several types of blocks available, which can be used to iterate over an array in tables, paragraphs, and list items:
tbs:ptbs:tabletbs:rowtbs:pagetbs:listitem
Accessing single item in array block
However, sometimes you just want to access a single item from an array. In which case, you can use the # symbol followed by a number to access a specific entry, for example:
| Event Title | Date |
[events#1.title] | [events#1.date] |
Instead of a full list of events, using the # method would show only the first item in the array of example events:
| Event Title | Date |
| Smith Wedding | 2025-12-31 |
Formatting fields
Note: this section relates to Word documents only. For details on formatting merge fields in email or other templates, click here.
You can format document template merge fields using "modifiers". There are several modifiers available:
Dates
To format dates, you can use the onformat modifier with the date parameter, which looks like: [event.date;onformat=~date].
By default, this will format the date in North American "medium date" format (i.e. "December 31, 2023"). If you want to customize the formatting of the date (or time), you can use the format modifier, which allows you full control of the date format. For example, if you want to show the date in US "short form" (i.e. 12/31/2023):
[event.date;onformat=~date;format=:m/d/Y;tz=local]Or, if you only want to show only the time (in this case 24-hour time), you can do:
[event.time.start;onformat=~date;format=H:i;tz=local]All available format options are available here.
Another consideration is timezone. The majority of dates stored in Lumify are in UTC timezone and are automatically converted to the system timezone configured under Settings > Localization when you use the onformat=~date modifier.
If you don't want the timezone to be converted, you can use the tz=local parameter, which tells Lumify the time is already in local timezone. The best example of where this is appropriate is on [event.date] or event start or end times, which are already stored in local time (not stored in UTC).
Currency
To format currency, you can use the onformat=~money modifier. This will automatically use the local settings from Settings > Localization to format your document with the appropriate currency.
Other text formatting
onformat=~firstNameonformat=~lastNameonformat=~pluralonformat=~singularonformat=~upperonformat=~loweronformat=~title
Default replacement
If a merge field is empty, you can use the ifempty modifier to provide a default (e.g. [event.location.name;ifempty=TBD]). If you don't provide a default, the merge field will show as blank.
Turn arrays into simple lists
When you have a list of entities (i.e. an array), you can use the onformat modifier with the ~implode parameter to merge that list into a simple comma-separated list (e.g. [signers;onformat=~implode;value=name]). The value modifier represents the underlying value you want to convert into a list. If you don't provide a value, the merge field will default to using the ID of each entity.
Additionally, you can adjust what separator will be used using the separator modifier. For example, if you want to create a list of signers separated by the "&" symbol, you can do: [signers;onformat=~implode;value=name;separator=' & ';strconv=utf8]. Note: using special characters like the "&" symbol will require the strconv=utf8 modifier to ensure proper formatting.
Finally, if you want to control the final separator, you can use the conjunction modifier, like this: [signers;onformat=~implode;value=name;conjunction=', and ']. This will result in: First Name, Second Name, and Last Name. You can also use the conjunction in cases where the separator isn't appropriate when there's only two items in the array (e.g. a comma between two items feels awkward). In which case, you can use conjunction=' and ' which will be used in place of the separator defined above.
Hide a section if empty
If a merge field is empty, you can optionally hide an entire section (listitem, table, page, row, column, paragraph, etc) using the magnet modifier. To use this in documents, you should use the following values (e.g. magnet=tbs:p will hide the entire paragraph):
- tbs:p
- tbs:table
- tbs:row
- tbs:page
- tbs:listitem
When using magnet outside of documents (e.g. planning forms), you should use the HTML tag that wraps the section you want deleted (e.g. magnet=p to delete a paragraph tag, or magnet=li to delete a list item).