Welcome to Lumify! This getting started guide will walk you through a few quick steps to quickly starting using Lumify like a pro!
1. Navigate to your personalized domain
When you registered with Lumify, you created a personalized domain for your business. If you forgot your domain, check your inbox for a "Welcome to Lumify" email which contains a link to your personalized domain.
2. Set up your business information
Once you're logged in to Lumify for the first time, you should navigate to the settings by clicking Settings > Business Information:

The information you enter here is used throughout Lumify (i.e. to populate your details on invoices, contracts, and provide contact details for your clients). You can also enter in additional details about your website and social media.
2.5. Import data (optional)
If you are switching over from another DJ event management software, now would be a good time to import your data! There are several self-service data import options available.
3. Customize appearance
You can also customize the appearance Lumify by clicking on Settings > Appearance. These settings apply to your entire instance of Lumify (we also call this a "tenant"). Any other users logging into to Lumify will see the customizations you make on this page (including a custom logo and colors).

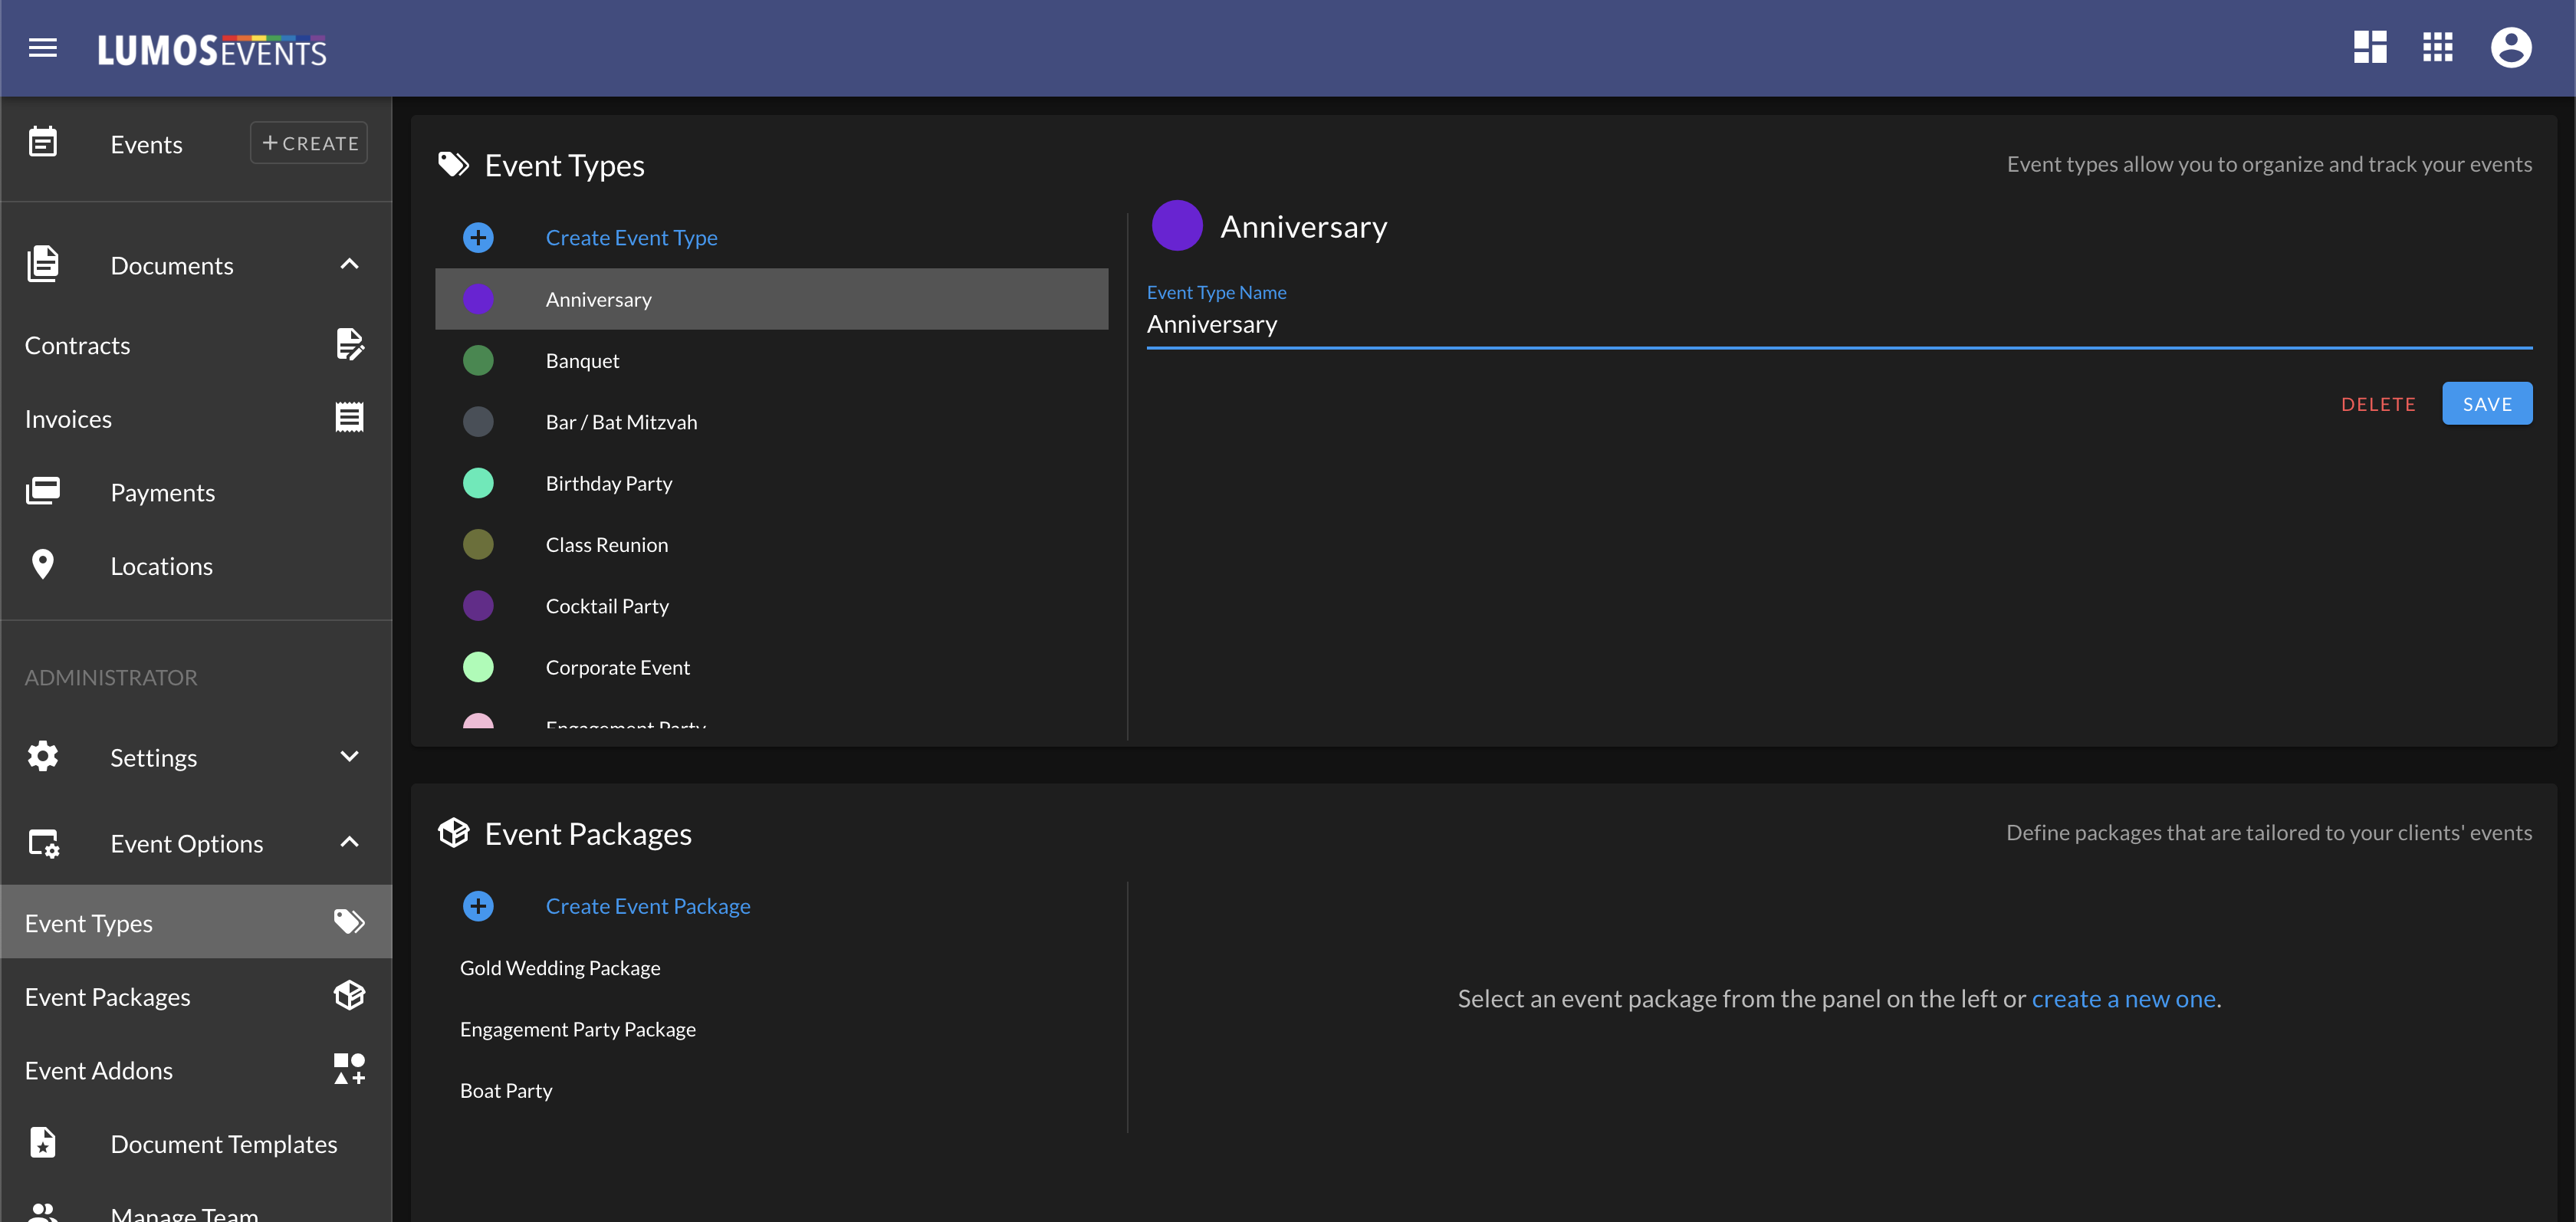
4. Define event types
You can also customize the types of events you cater to by clicking on Event Options > Event Types. These event types are used to categorize your events and allow you to limit packages and add-ons to event types. You can also change the color of an event type by clicking on the colored circle on each event type. If you decide to import event data from another software, these event types will be created for you automatically.

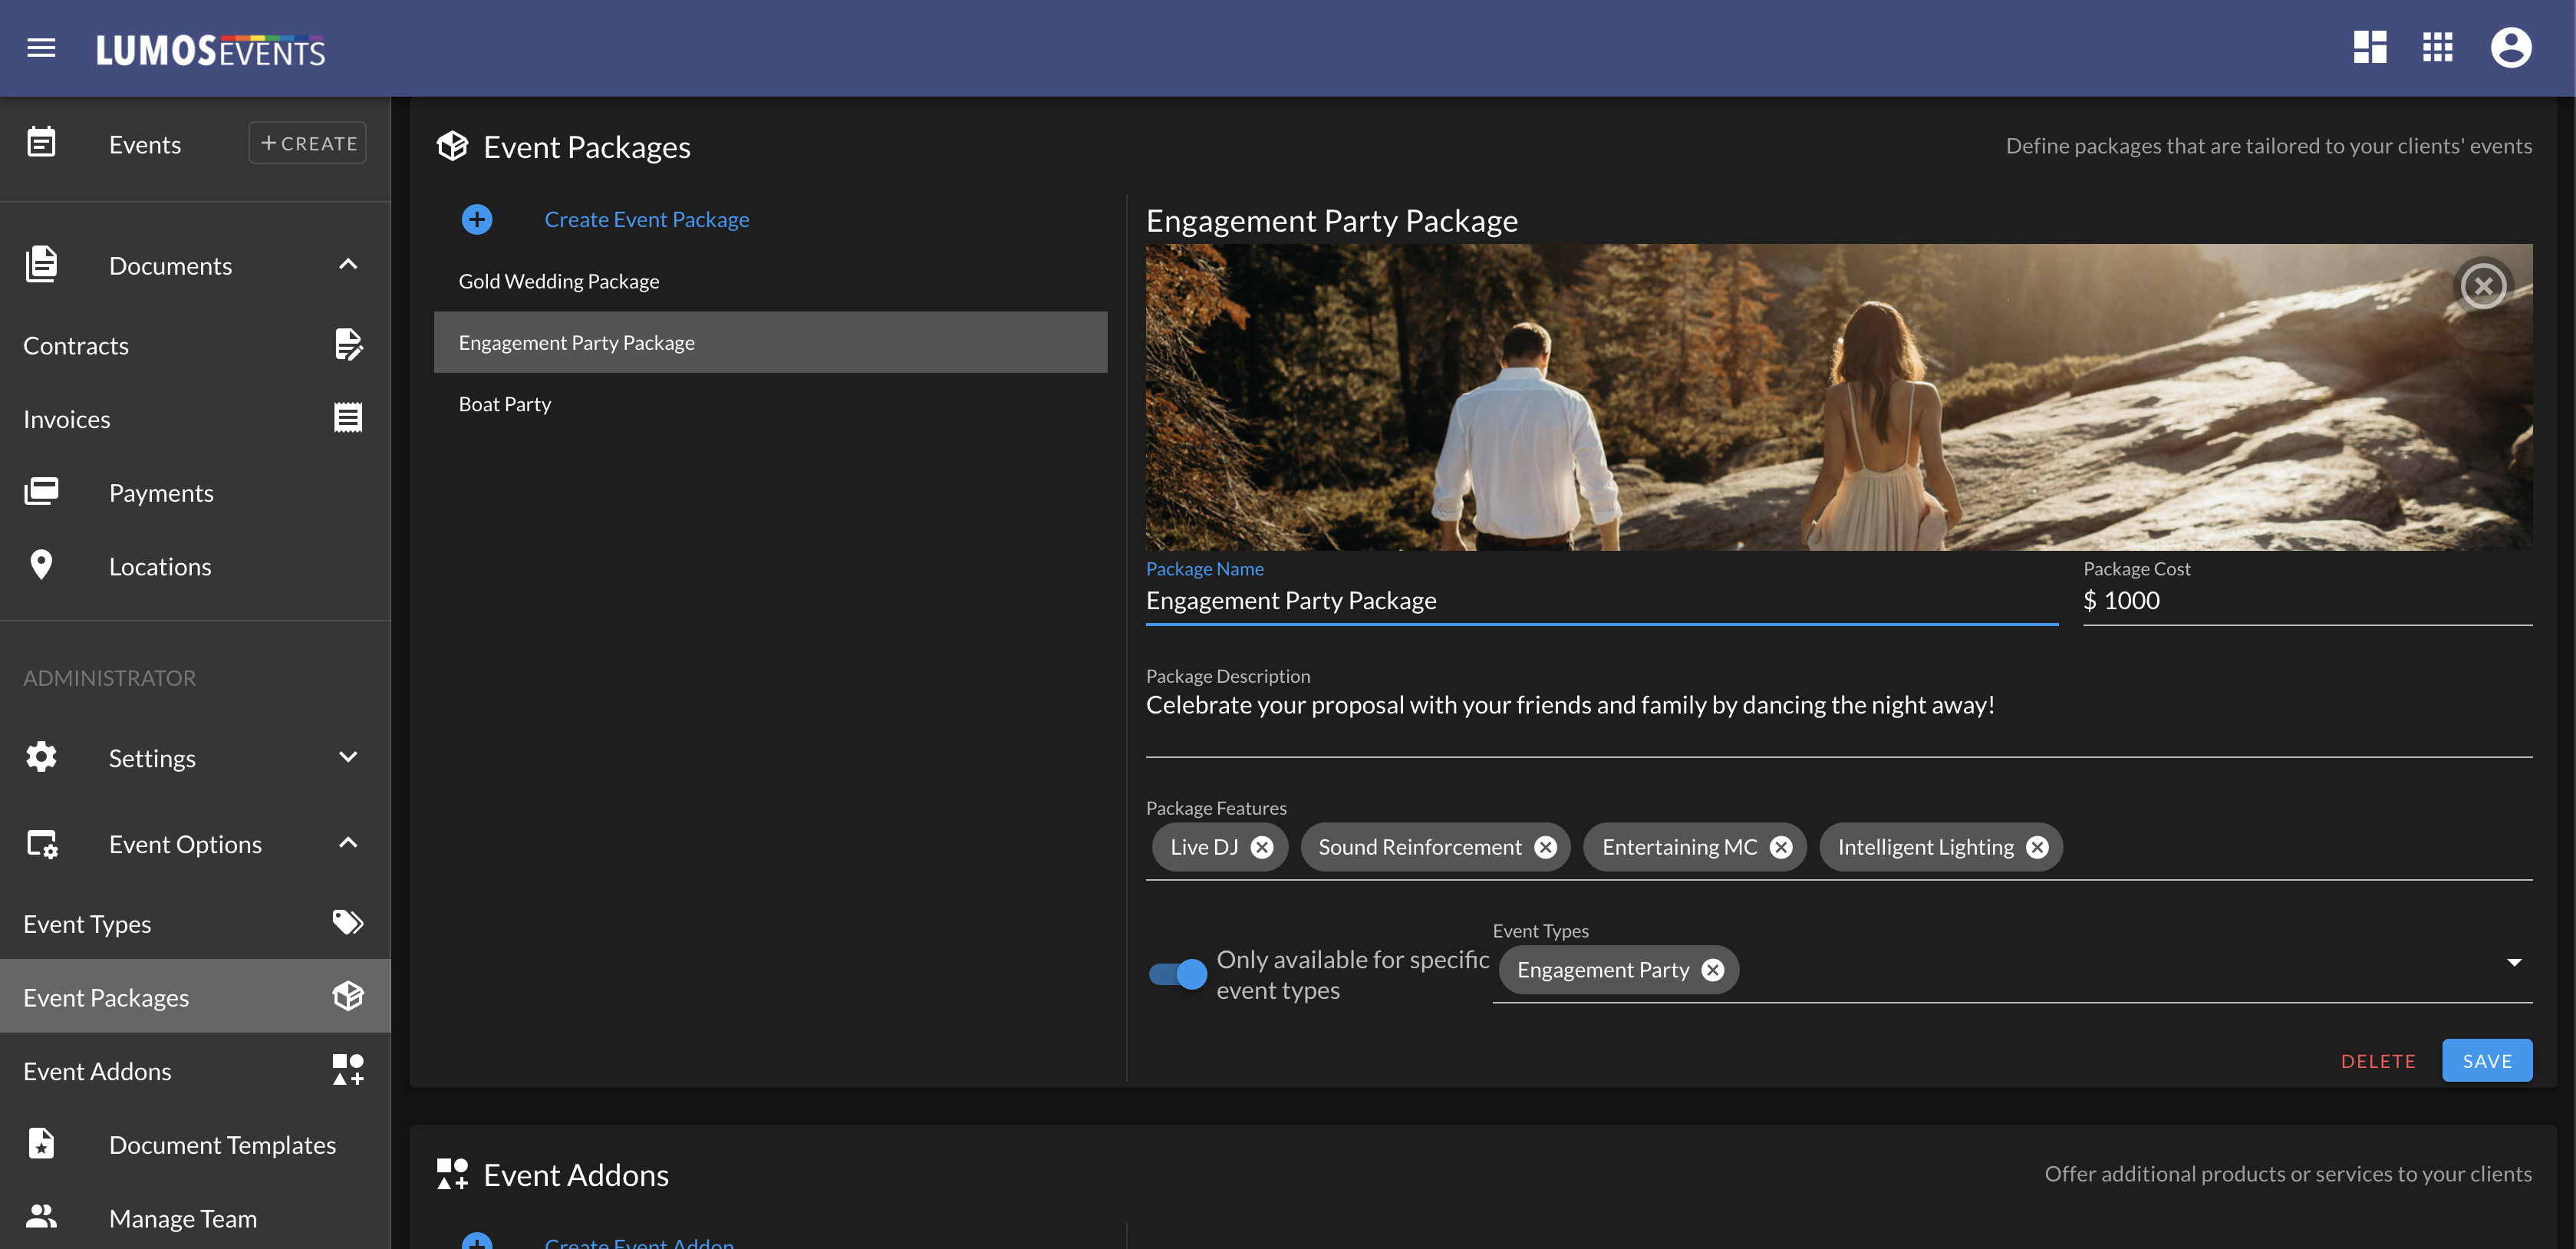
5. Define packages
You can also define unique packages by clicking on Event Options > Event Package. These packages can used to build customized experiences for your clients. You can upload photos to showcase each package. Packages have an associated cost, description, features, and can be limited to specific event types (e.g. wedding packages are only available for the "Wedding" event type). If you decide to import event data from another software, these packages will be created for you automatically.

6. Define add-ons
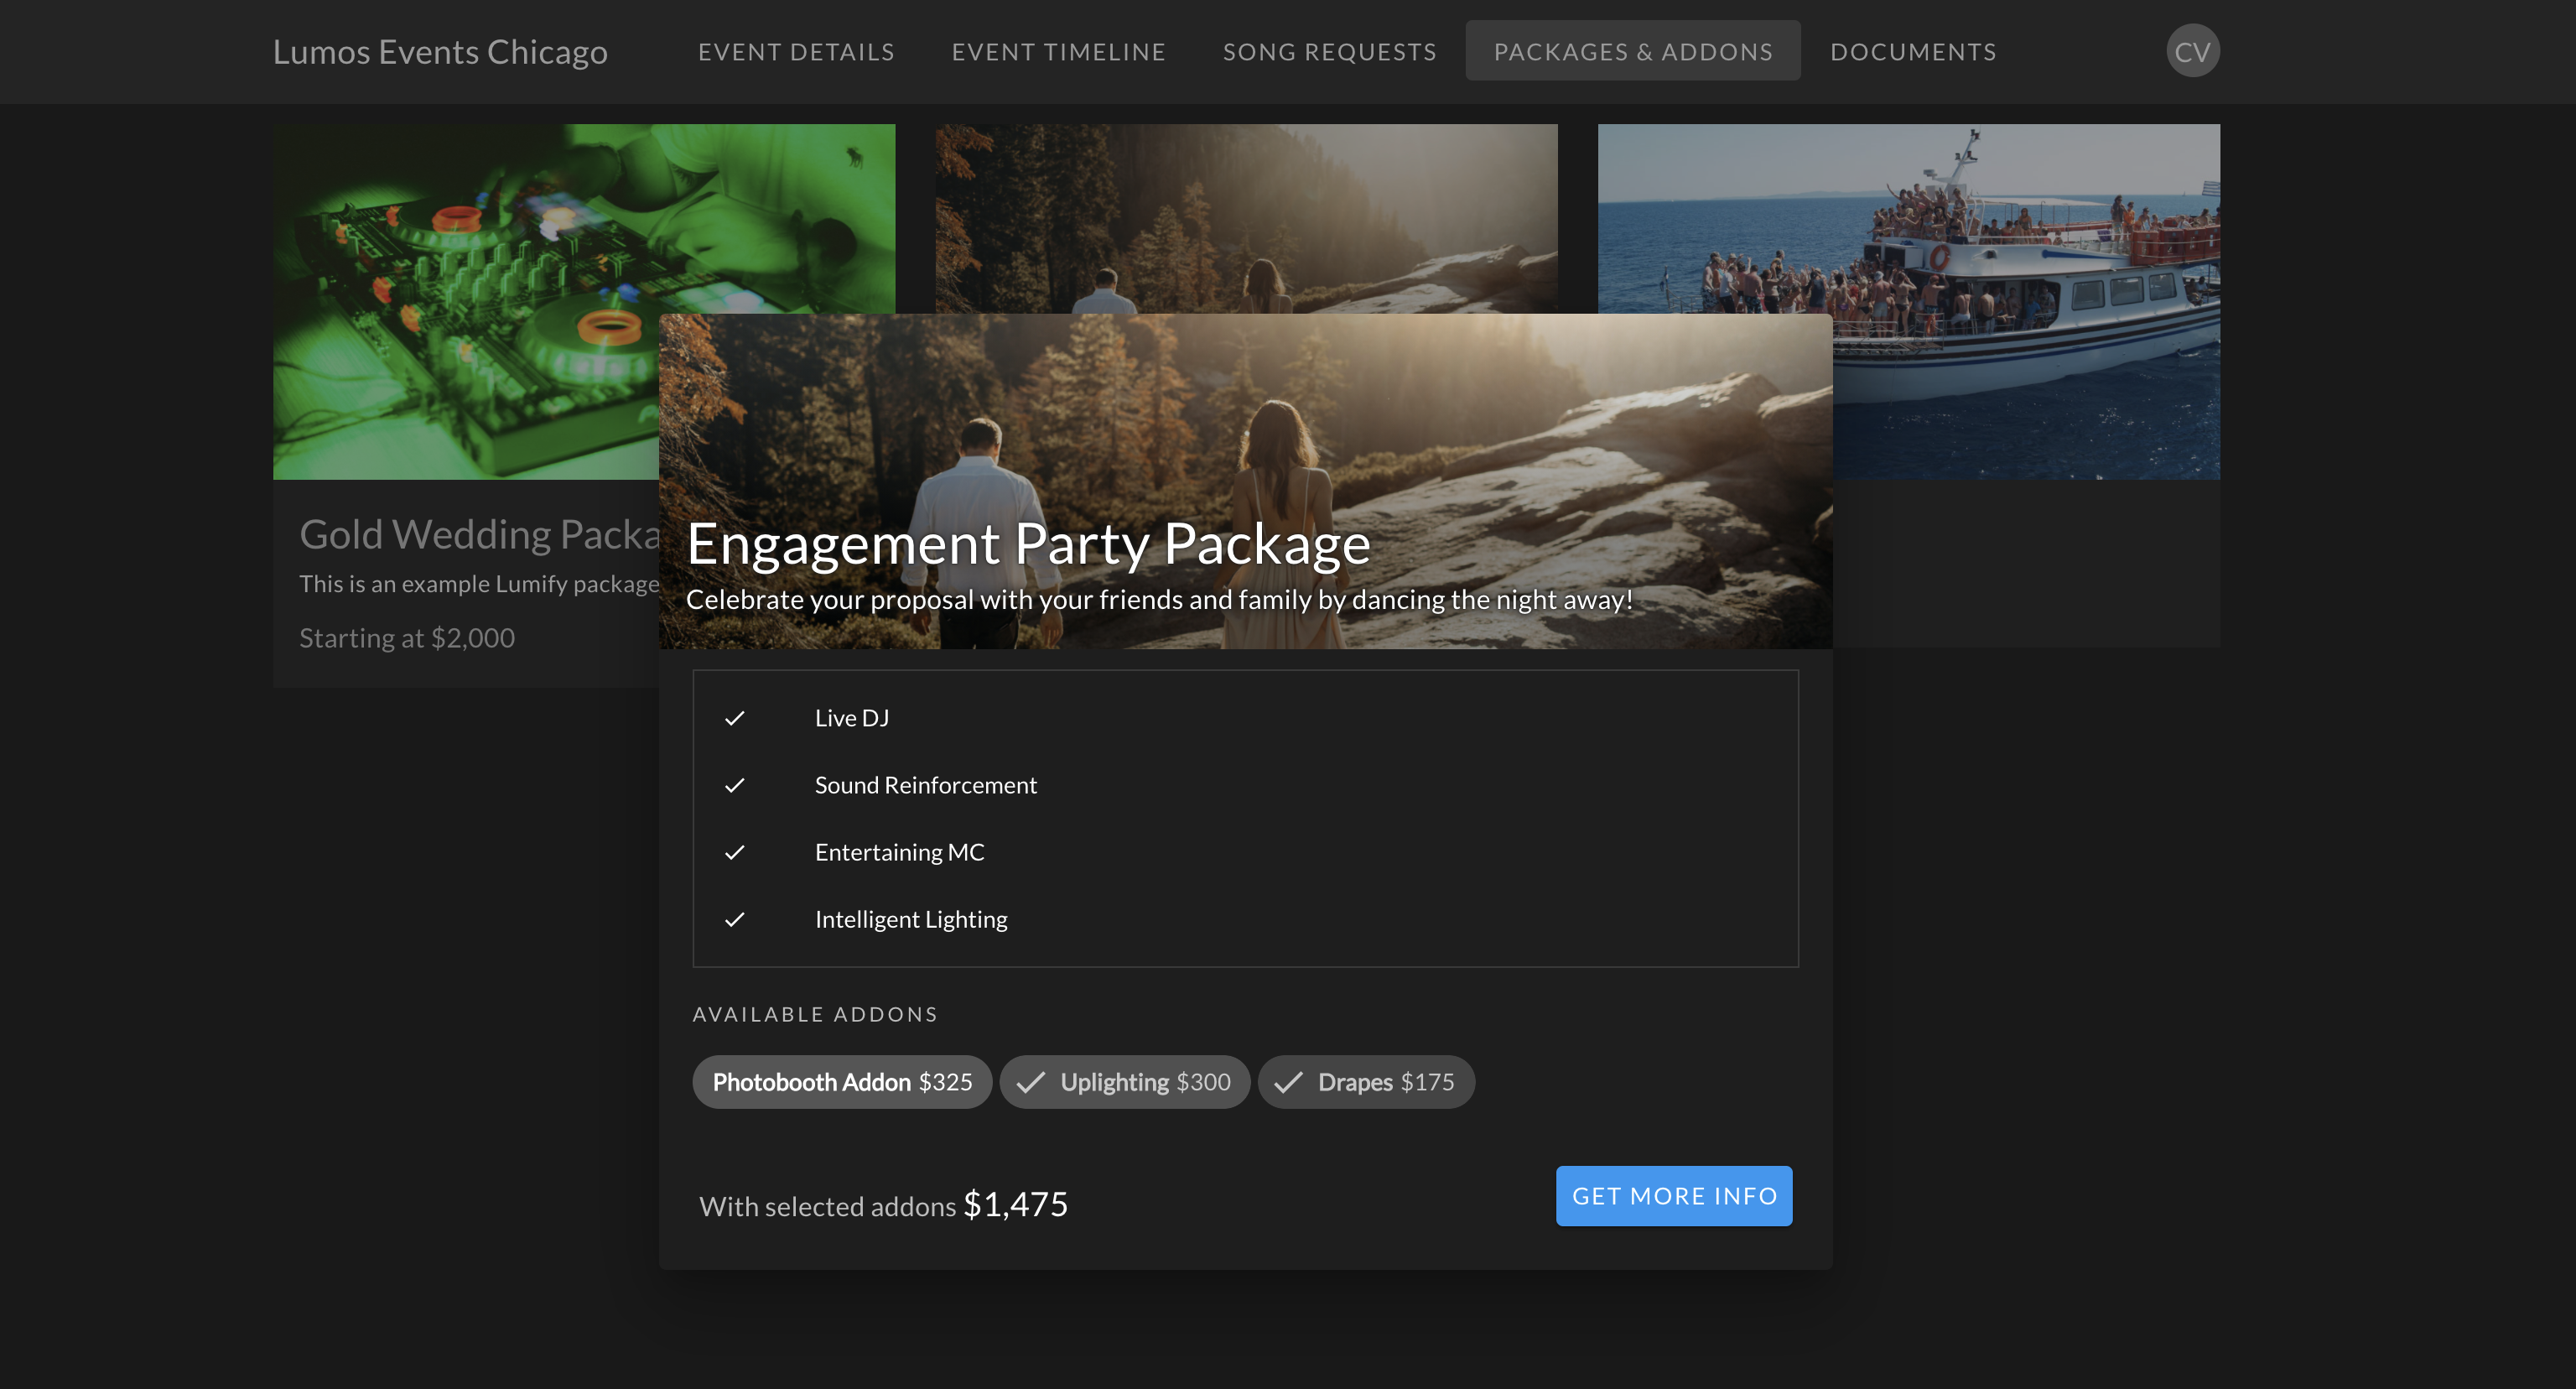
You can also create add-ons that offer your clients the unique opportunity to customize their events. To create add-ons, click on Event Options > Event Addons. You can upload photos to showcase each package. Packages have an associated cost, description, and can be limited to specific packages (e.g. photobooth add-on is only available for wedding packages). If you decide to import event data from another software, addons will be created for you automatically.

Add-ons are displayed on the client portal along with their associated costs. This allows your clients to "configure" their perfect event. It's just like ordering pizza online!

7. Document Templates
Check out the Getting Started guide for document templates.
8. Integrations
If you plan on using Lumify integrations, check out the specific documentation for our top integrations:
- Google Calendar integration
- Stripe integration
- Mailchimp integration